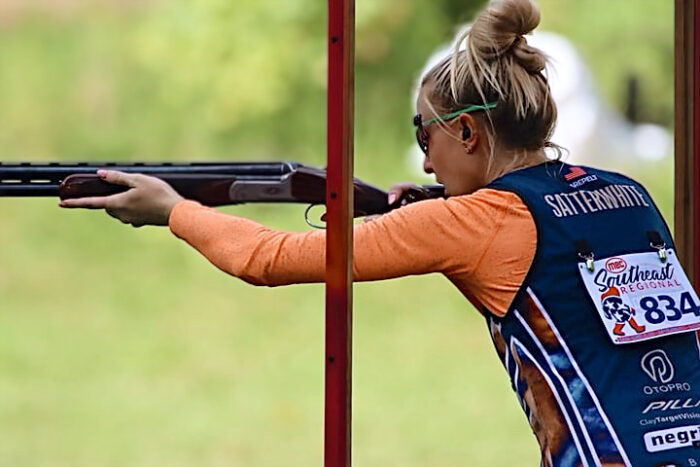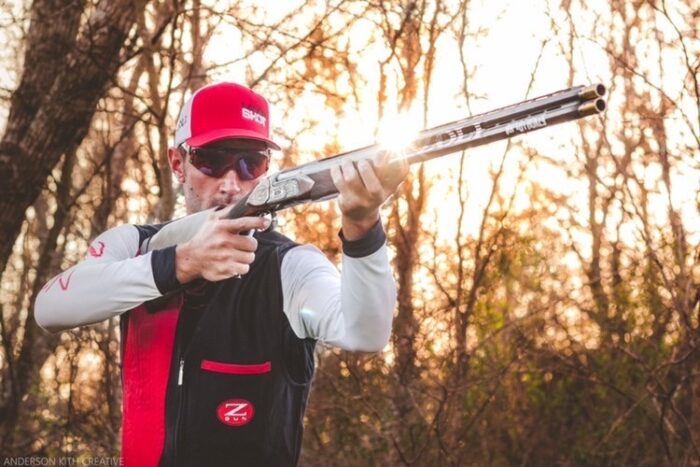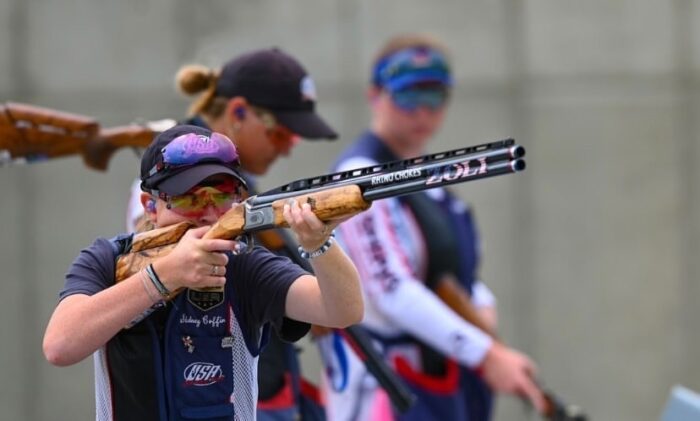


In competitive clay shooting, reaction time and shot consistency are two of the most critical factors for success. While many shooters focus on lead, gun fit, and visual pickup, one overlooked element that plays a massive role in target acquisition and shot execution is the hold point—where the barrel is positioned before the shooter calls for the target.
A properly developed natural hold point reduces unnecessary gun movement, shortens reaction time, and ensures a fluid, instinctive swing to the target. However, hold points are not one-size-fits-all; they must be customized based on the shooter’s reflexes, visual processing speed, and shooting style.
This article provides an advanced, technical breakdown of how to develop and refine a natural hold point that enhances both speed and consistency, allowing for smoother, more controlled shots in Sporting Clays, FITASC, and Trap.
What is a Hold Point and Why Does It Matter?
The hold point refers to the initial barrel position before calling for the target. It acts as the starting position for the gun’s movement, dictating how efficiently the shooter can acquire the target, execute the shot, and transition to a second bird in pairs.
A well-placed natural hold point allows for:
✔ Faster target acquisition – Reducing the time required to locate the target and initiate movement.
✔ More efficient gun movement – Minimizing excess barrel travel and reducing wasted motion.
✔ Better synchronization between the eyes, hands, and target – Ensuring a smoother, more instinctive shot.
Poor hold point positioning can lead to hesitation, erratic gun movement, and inconsistent target breaks.
Key Factors That Determine a Shooter’s Natural Hold Point
A natural hold point is not the same for every shooter. It depends on:
1. Target Presentation & Angle
- A rising teal target requires a lower hold point to allow space for natural barrel movement.
- A fast crosser requires a higher hold point to minimize wasted movement and maintain a smooth swing.
- A quartering away target may require a hold point slightly in front of the break point to improve reaction time.
2. Visual Processing Speed
- Shooters with faster reaction times can afford a slightly higher hold point, as they are able to recognize and move toward the target quickly.
- Shooters with slower visual pickup may benefit from a slightly lower hold point, allowing more time to read the target’s speed and angle before engaging.
3. Shooting Style & Gun Speed
- Swing-through shooters tend to benefit from a hold point closer to the trap house to allow for a full gun movement through the target.
- Sustained lead shooters may prefer a higher hold point near the break zone to reduce barrel movement.
- Interception shooters (those who cut through the target’s path quickly) will need a mid-range hold point to ensure the barrel meets the target at the correct lead.
4. Course Conditions & Background Visibility
- In clear sky conditions, a higher hold point may be beneficial for early target pickup.
- In wooded backgrounds or poor visibility, a lower hold point can prevent the eyes from getting lost in background distractions.
Gil and Vicki Ash of OSP Shooting School emphasize that hold point is directly tied to eye efficiency—if a shooter struggles to acquire targets quickly, the hold point is likely misaligned with their natural vision process (Ash and Ash 135).
The Step-by-Step Process for Finding Your Natural Hold Point
Step 1: Identify Where You See the Target First
- Stand in a comfortable shooting stance at a Sporting Clays or FITASC station.
- Call for the target without mounting the gun—simply track it visually.
- Note the exact point in the air where your eyes naturally detect the target.
- Your hold point should be positioned slightly below this spot, allowing for an upward or lateral gun movement without excessive correction.
Step 2: Align the Barrel with Your Visual Pickup Point
- Mount the gun and position the barrel slightly ahead of where you first saw the target.
- The barrel should be in your peripheral vision, but not so dominant that it draws your focus away from the target.
- Avoid having the barrel too high, as this can cause shooters to “float” the gun over the target, leading to inconsistent breaks.
Michael Yardley, a leading British shooting coach, stresses that “a hold point should always allow the shooter to move smoothly into the shot—if you feel rushed or forced, it’s too high” (Yardley 92).
Step 3: Adjust Based on Target Speed & Flight Path
- For slow-moving targets: Hold points can be slightly higher, reducing the need for excessive movement.
- For fast crossers or quartering birds: The hold point should be lower or further in front of the break point to allow a natural move to the clay.
- For overhead or incoming shots: The hold point should be just below the expected flight path, ensuring an easy upward move into the target.
Step 4: Test in Live-Fire Drills
Once the hold point has been visually aligned, test it in live-fire practice:
- Set up five different target presentations and apply the hold point positioning method.
- Adjust the hold point slightly between shots to find the most natural reaction time and gun movement.
- If you feel rushed, lower the hold point.
- If you feel disconnected from the target, raise it slightly.
- Keep repeating until the hold point feels automatic and instinctive.
World Champion Richard Faulds recommends that shooters test multiple hold points at various stations during practice, keeping notes on which ones allow the most natural reaction and fluid swing (Faulds 143).
How to Train Hold Point Consistency
1. Mirror Mount Training for Muscle Memory
- Stand in front of a mirror with an unloaded gun.
- Practice mounting the gun to a fixed hold point while keeping the eyes soft-focused.
- Repeat until the movement is automatic and fluid.
2. Dry-Fire Hold Point Adjustments
- Pick an object in the distance and use it as a simulated clay target.
- Set the barrel hold point below or ahead of the object.
- Move the gun naturally into the object’s line and simulate the shot.
- Adjust and repeat until the hold point feels natural.
3. Moving Hold Point Drills
- Shoot five clays at one station using different hold points (low, mid, high).
- Identify which position results in the most instinctive shot execution.
- Adjust and reinforce the best hold point through repetition.
Final Thoughts: Why Your Hold Point Dictates Your Success
✔ A properly developed natural hold point allows for faster target acquisition, more efficient gun movement, and better consistency in shot execution.
✔ The ideal hold point depends on target type, shooter reflexes, and shooting style.
✔ By training with live-fire drills, dry-mount exercises, and target tracking, shooters can refine their hold point until it becomes completely instinctive.
Elite shooters don’t just react to targets—they pre-position themselves for success before calling “pull.” Finding your natural hold point is the key to making every shot feel smoother, faster, and more controlled.
References
- Ash, Gil, and Vicki Ash. Sporting Clays Consistency: You Gotta Be Out of Your Mind!. OSP Shooting School, 2019.
- Faulds, Richard. Break Clays Like a Champion: Advanced Sporting Clays Techniques. Stackpole Books, 2018
- Yardley, Michael. Positive Shooting: A Guide to Competitive Clay Shooting. Quiller Publishing, 2017.